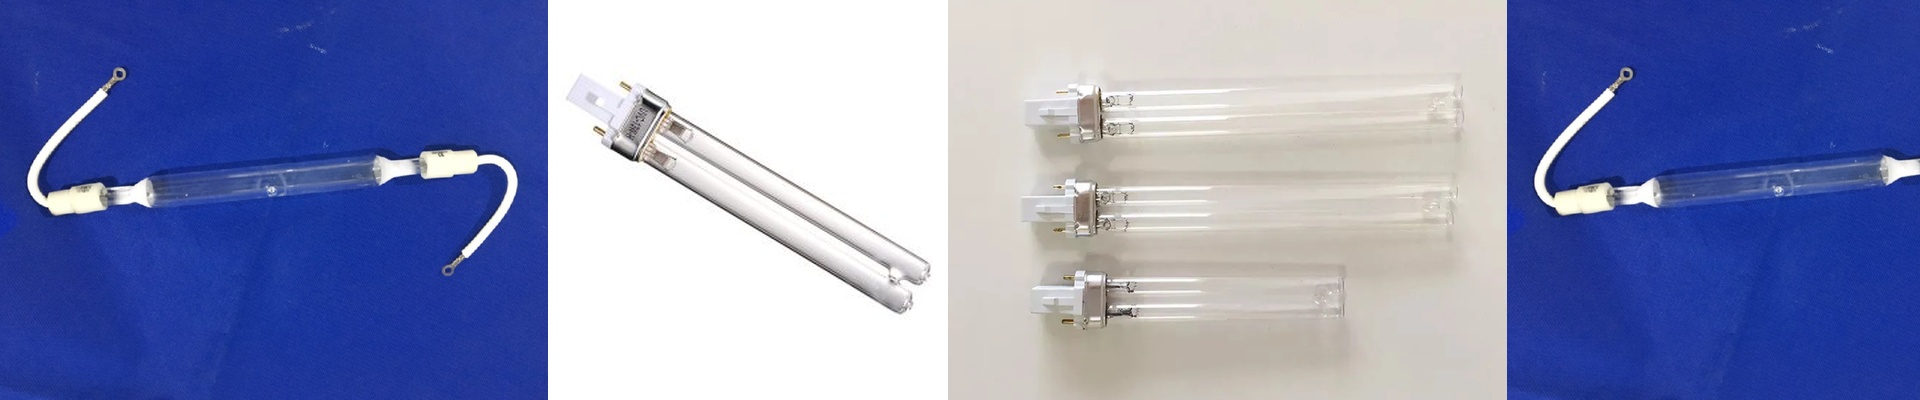
What Actually Powers These Lamps: Power, Voltage, and Size
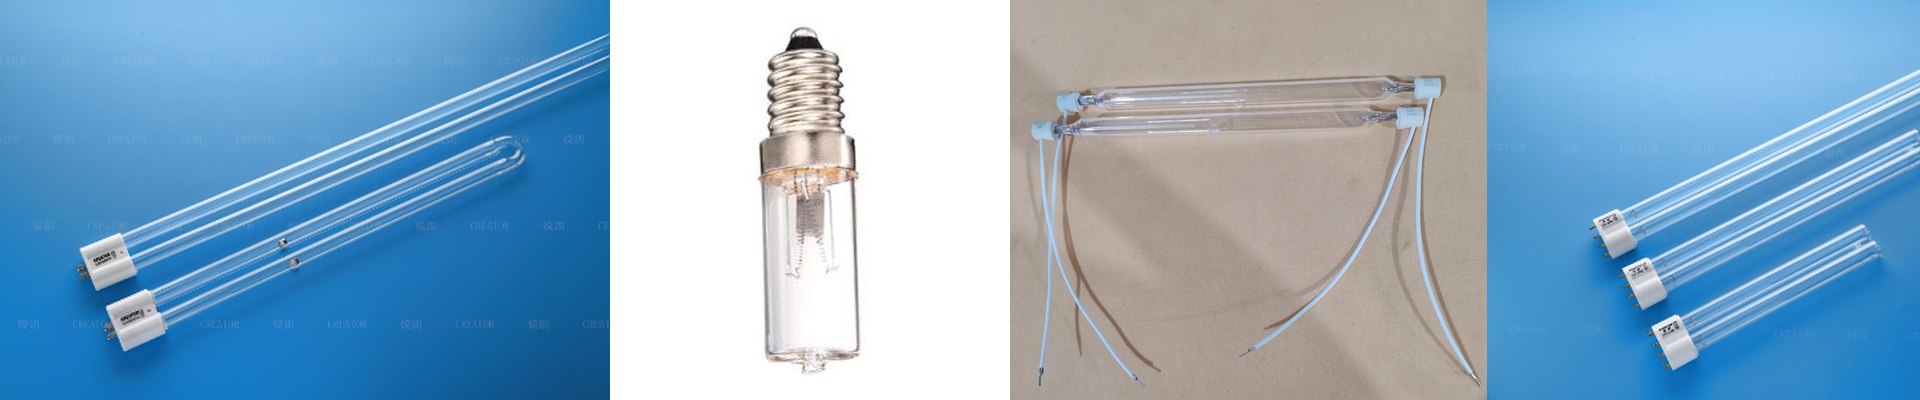
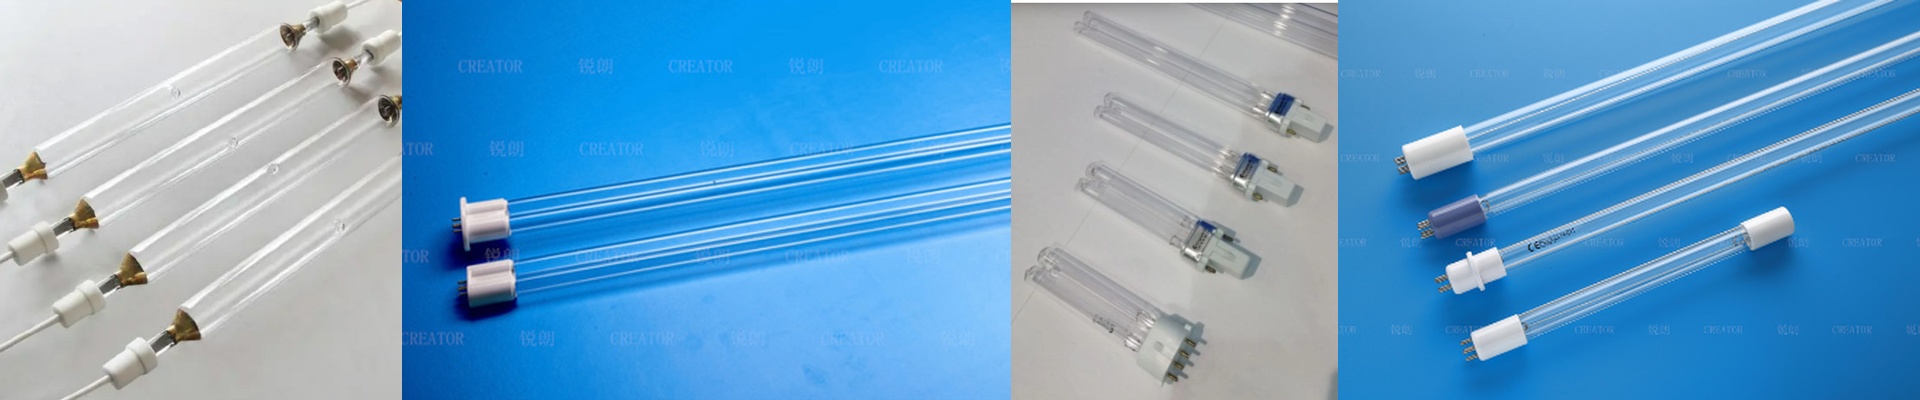
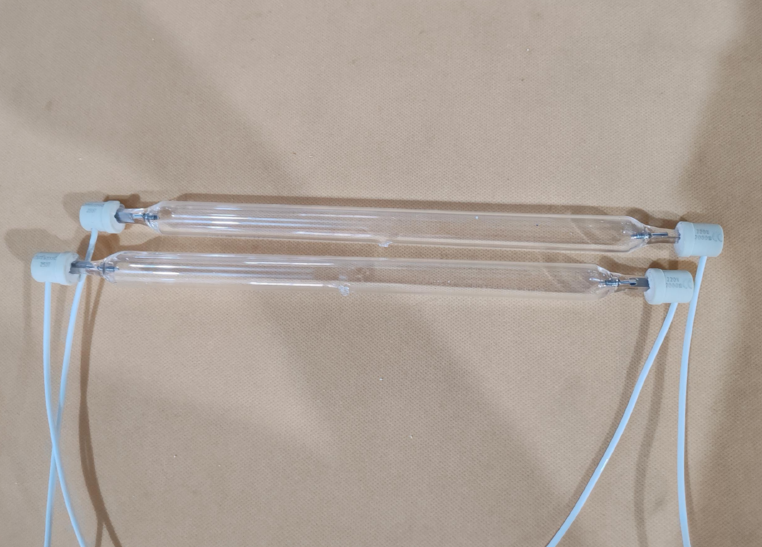
Here’s the thing about a high-power UV curing lamp: it’s built to throw a serious punch. It needs to deliver concentrated energy so your coatings or inks cure fast—like, production-line fast. To get that kind of intensity, we lean on high wattage and high voltage. For the big units, 400V input is the norm. Why? Because that much electrical potential is what it takes to strike a stable arc across the electrodes inside the quartz tube—and keep it steady. That’s how the lamp hits its rated power, often 2500W or more, and holds it consistently. Then there’s the size. Most of these lamps run around 300mm long, and that length isn’t random. It’s a balancing act between packing in enough heat density and fitting the space you have in your equipment. A shorter, high-wattage tube concentrates the heat, which is great for speed. But it also means your cooling has to be up to the job, or you risk cooking the surrounding components.
Inside the Lamp: Halogen Chemistry and the R7s Connection
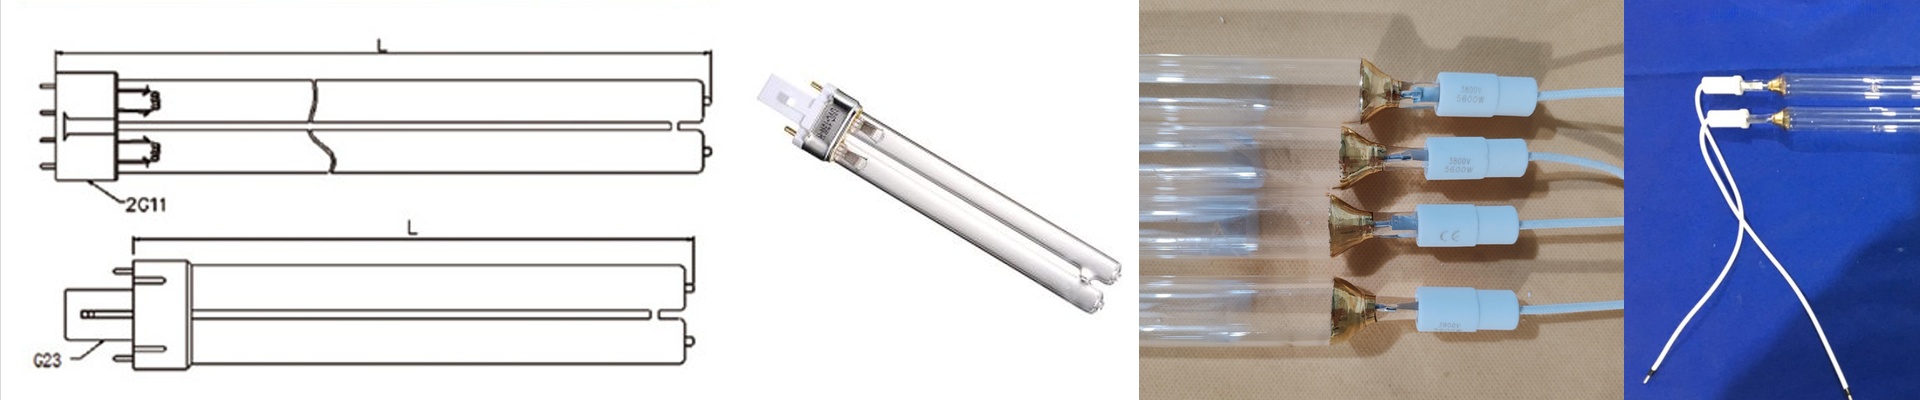
The heart of a good UV lamp is the quartz envelope and what’s inside it. We use a halogen-based gas mix—not just plain argon—because it stabilizes the arc and helps the filament last longer. That chemistry also affects the light you see when it fires up. A clean, well-made fill gives you a bright, steady white light with a consistent color temperature. If the light starts looking pink or it shifts around, that’s a red flag. It usually means the gas is contaminated, and that leads to uneven output and the lamp burning out way too soon. And the connector? The R7s is the workhorse here. It handles high current without getting hot itself, and the two-point contact makes wiring simple and secure. It’s a drop-in standard for many industrial curing setups, so swapping out a lamp is straightforward when it’s time for maintenance.
How It Performs Out in the Real World
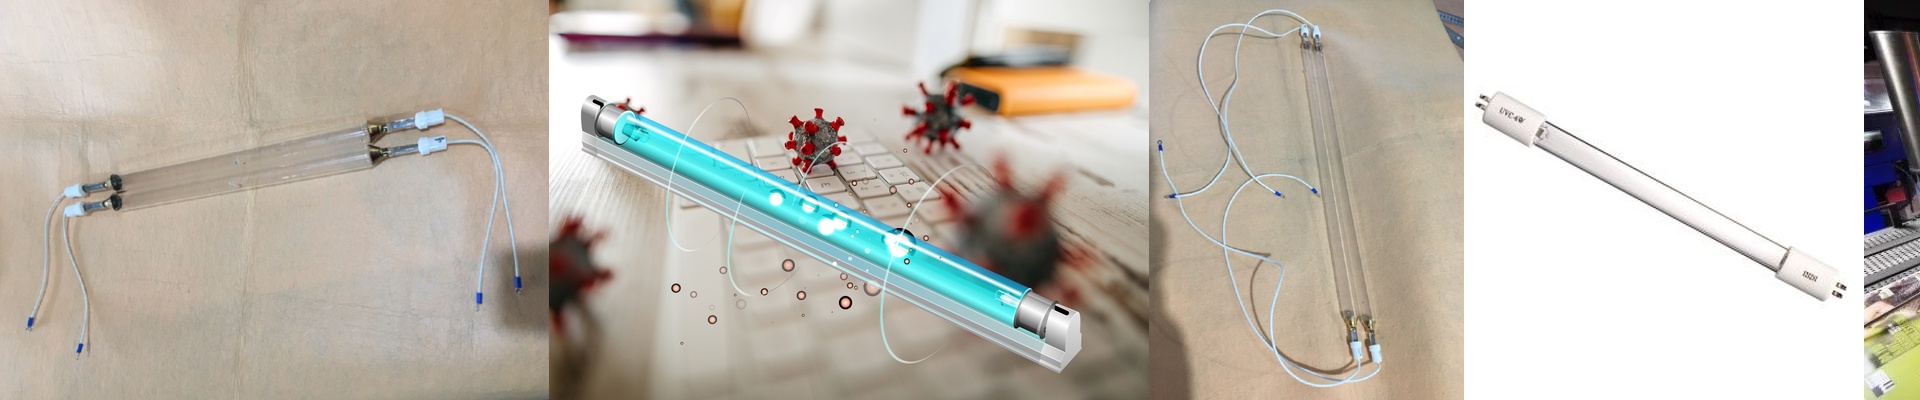
These lamps are built for production floors. That intense heat density lets you run coating lines and printing operations at higher speeds. But there’s a trade-off: your cooling system has to be properly matched. If you don’t have enough airflow or the right liquid cooling, the lamp and its socket take a beating. That shortens lifespan fast. For engineers, there are two quick tells in day-to-day use: startup behavior and the steady-state color. A clean ignition and a consistent white glow are the baseline signs that the internals are solid. That makes it easy to spot whether a replacement tube is truly up to spec for your process.
The Quickest Quality Check: Watch the Light
The fastest way to judge a UV lamp’s quality is right when it lights up. A high-quality halogen-filled tube gives you a crisp, stable white light. If the fill is weak or contaminated, you’ll see a pinkish hue or an unstable flicker. That visual cue is a field test for gas integrity before you even measure output. It tells you whether the internal chemistry is right. When you install a new lamp, pay attention to startup. A clean strike followed by a steady white glow means the internal components are spec’d correctly. If the color shifts or the arc struggles, the gas fill is likely compromised. That simple observation saves time and keeps bad units from getting installed on the line. With high-power UV curing, the lamp lives or dies on internal stability. The color tells the story.