Getting Your IR Heating Walls Actually Right
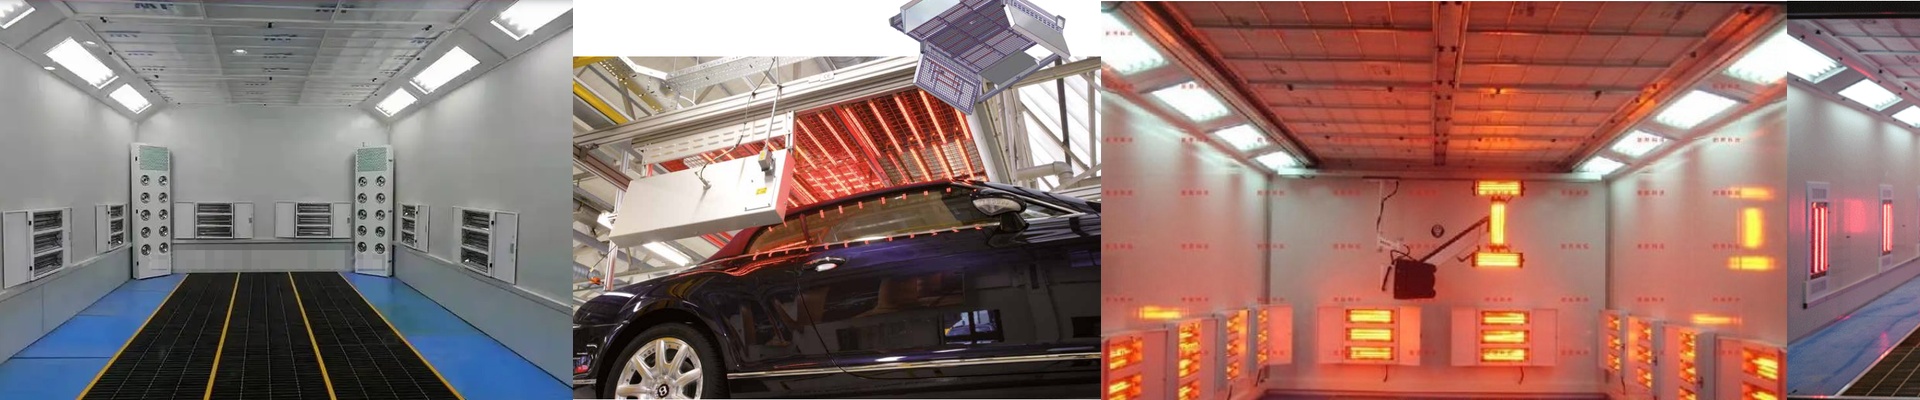
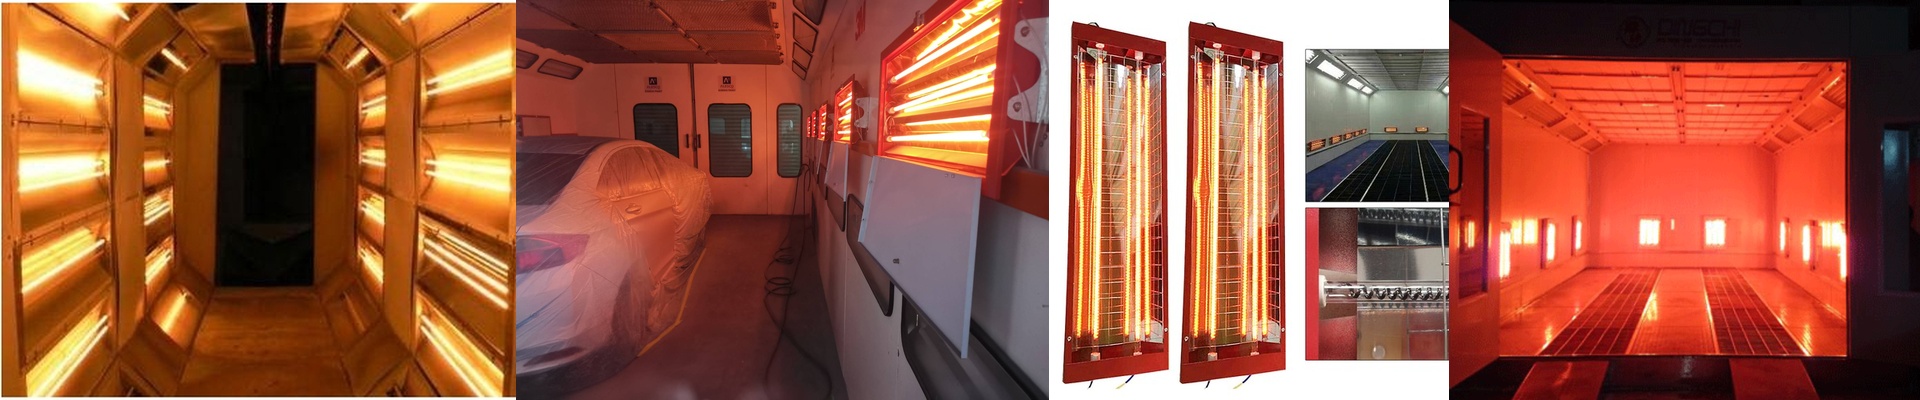
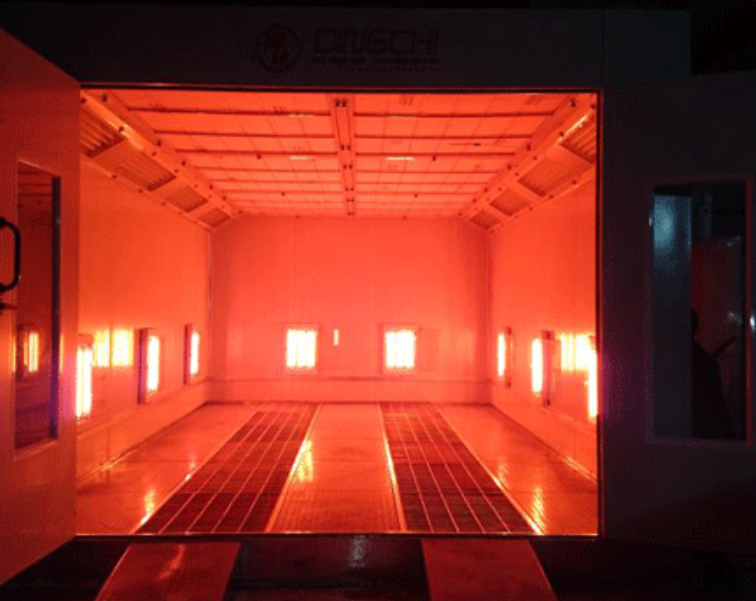
When we’re building custom heating walls—whether it’s for curing automotive paint or treating brake pads—the real headache isn’t the total power. It’s where that heat actually goes. See, every vehicle is different. You’ve got varying heights, weird curves, and different amounts of metal. If you just space your IR lamps evenly down a 3-meter wall, you’re asking for trouble. You’ll end up with a chassis that’s scorching hot while the roof is still cold. It just doesn’t work that way.
Matching the Heat to the Shape
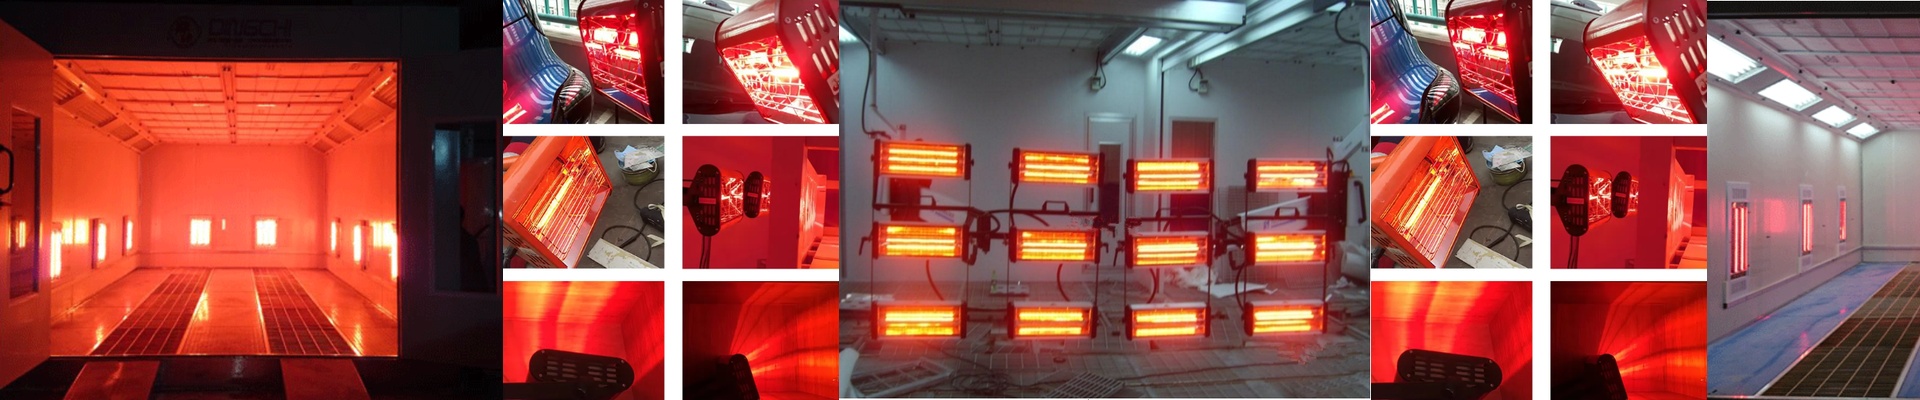
We spend a lot of time figuring out the “pitch”—basically the gap between the lamps—based on how tall the part is and how far it sits from the wall. Shortwave IR is great because it digs deep, but the intensity drops off fast. To stop those annoying “stripes” (you know, those visible lines where the curing is uneven), we overlap the radiation cones. If you’re dealing with a big SUV, we pack more lamps into the middle section where most of the metal is. For a low-slung car or a small part, we shift that power lower. And look, you can’t just crank up the power to fix a cold spot. If you overdo the top lamps, you’ll fry the paint on the roof before the lower panels even get warm.
The Hardware Headache
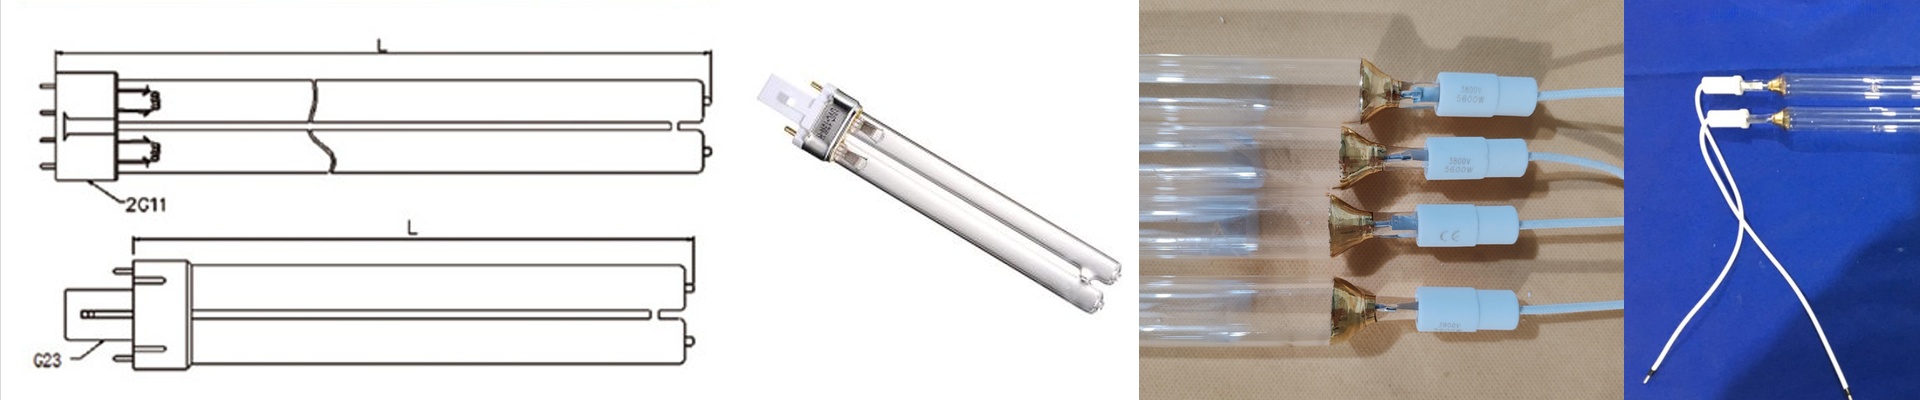
We usually go with quartz halogen tubes. They’re fast. They hit temperature almost instantly. But here’s the catch: high-density arrays pull a massive amount of juice from your electrical panel. If you’re stuffing 2kW lamps every 150mm, your wiring has to be beefy. Otherwise, you’re going to be tripping breakers every single time you flip the switch. Then there’s the trade-off between space and consistency. A tighter gap between lamps gives you a beautiful, even heat map, but it makes the reflectors more expensive. Plus, the housing needs to breathe. If it doesn’t, heat builds up behind the reflectors and your lamps will burn out way sooner than they should.
Fine-Tuning on the Fly
My best advice? Use modular mounting brackets. It lets you slide the lamp rows up or down after you’ve run a few tests. No one gets it perfect on paper. You have to see where the heat is lagging on the actual part, then just shift the lamps to match the vehicle’s center of gravity. It’s a lot simpler than trying to guess the math and hoping for the best.