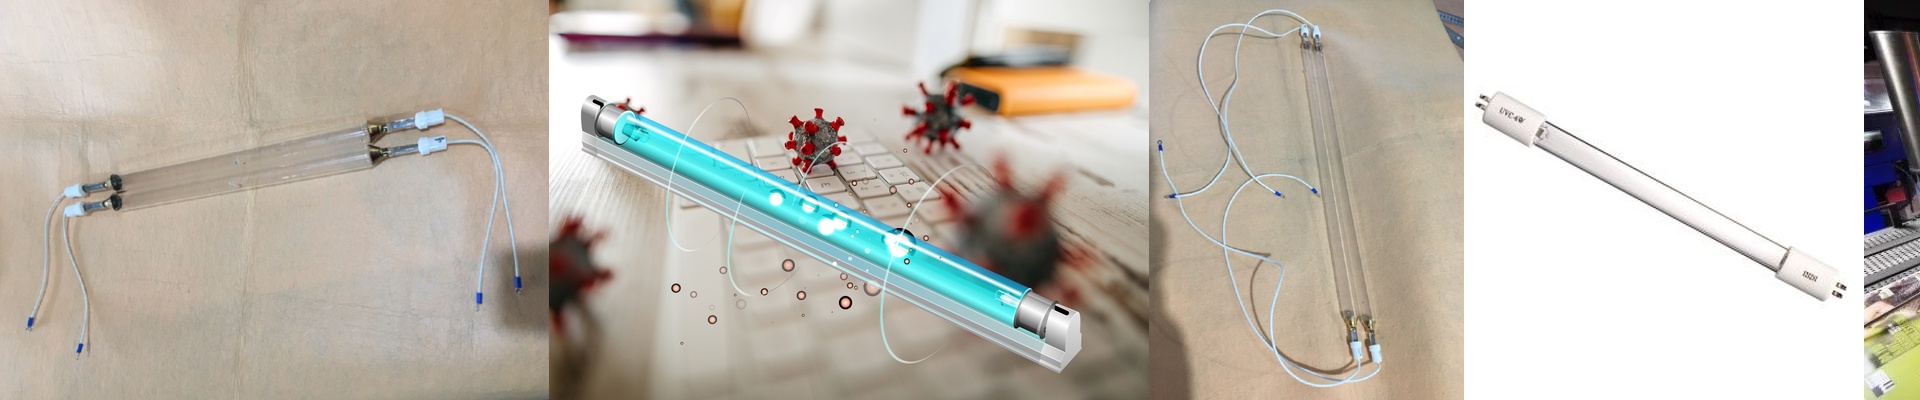
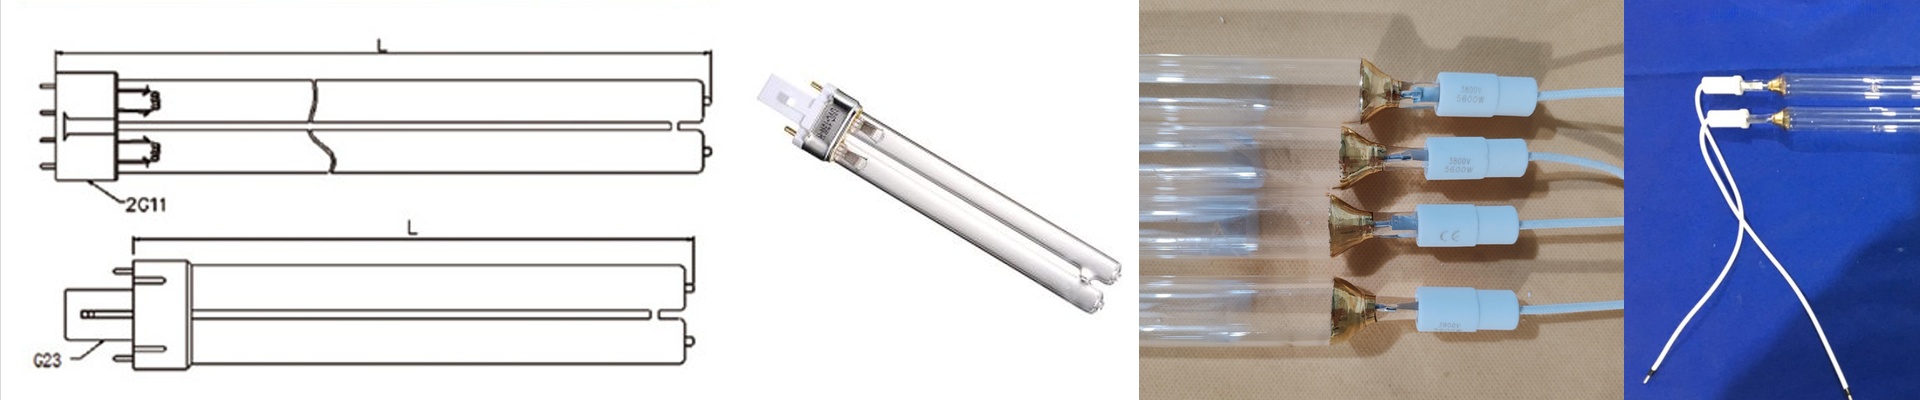
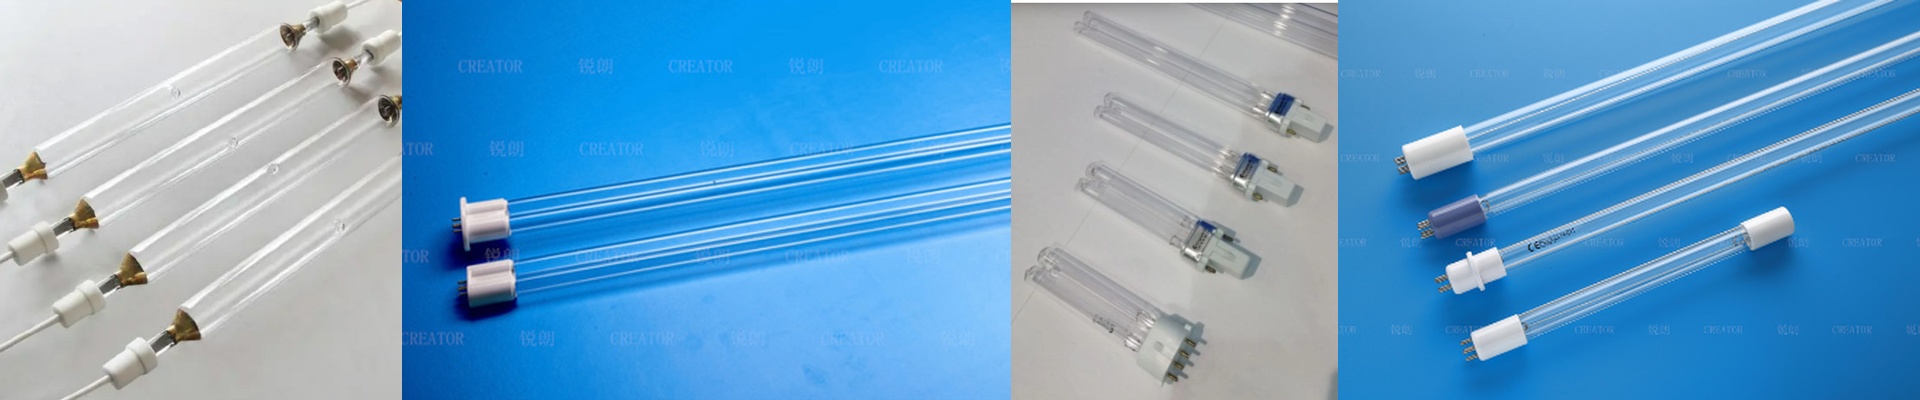
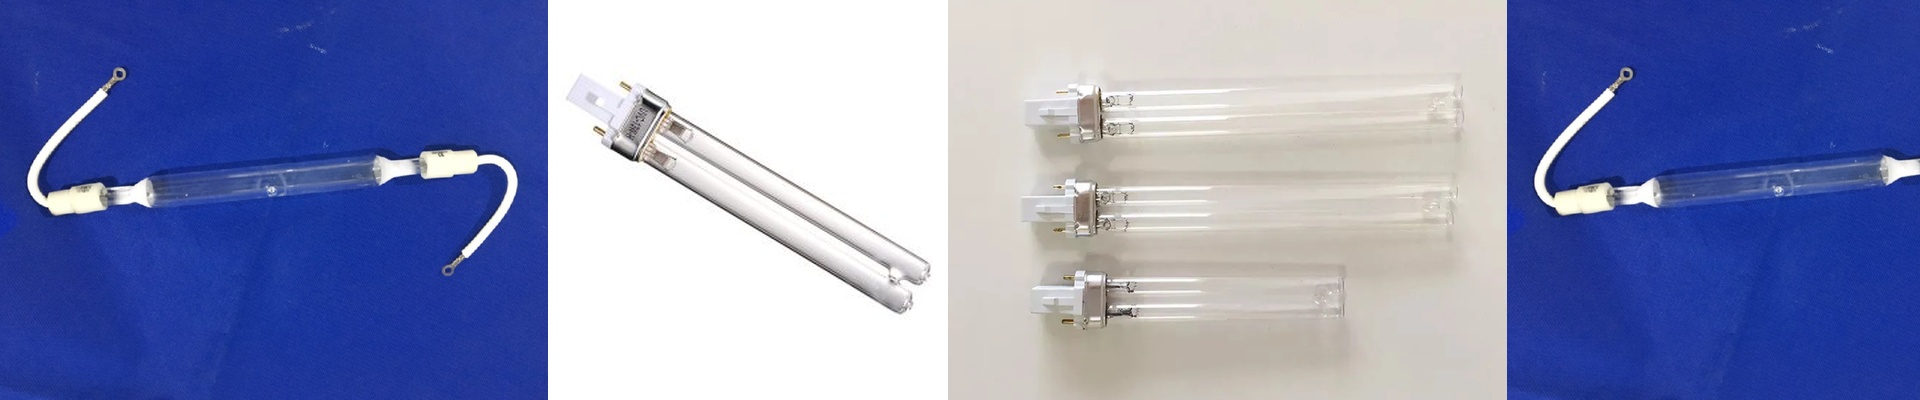
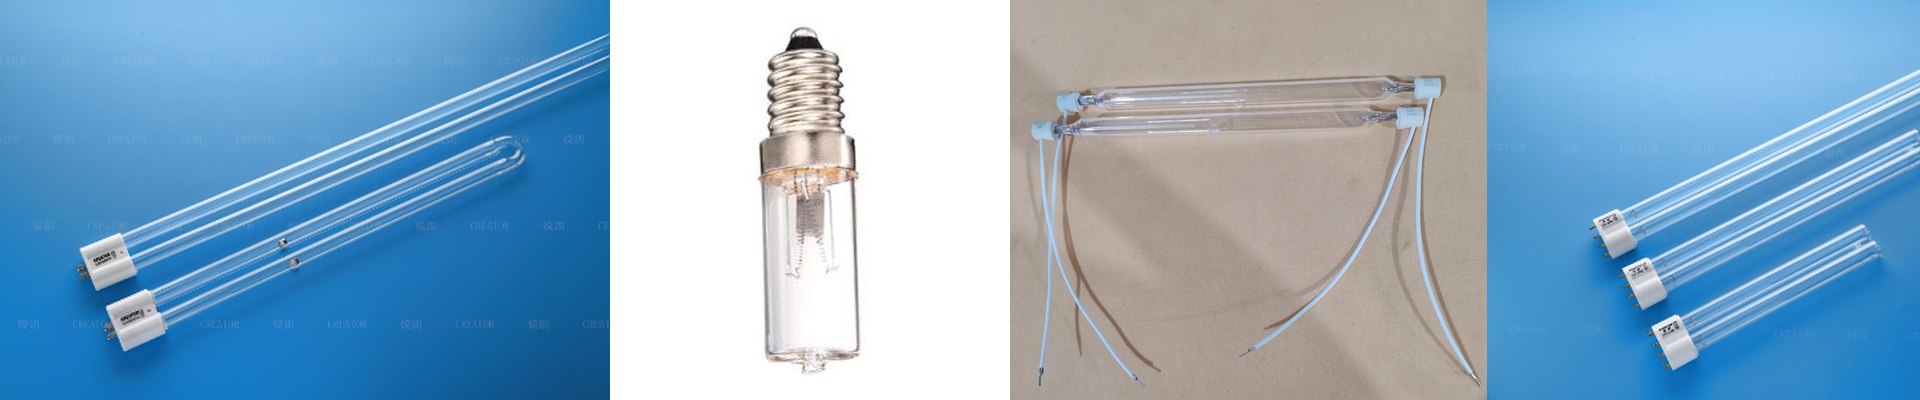
Getting the Most Out of Your Mercury UV Bulbs
Most mercury UV bulbs you buy off the shelf are “fine.” They do the job, but they throw a broad spectrum of light that isn’t always where you need it. If you’re chasing high-precision curing, “fine” doesn’t cut it. We spent a lot of time in the lab figuring out how to tighten that energy focus, eventually getting the variance down to just 0.5%.
Why the “drift” is a problem
Here is the thing: mercury lamps hit specific peaks—mostly 254nm and 365nm. When that energy starts to drift, things go sideways. You end up with surfaces that feel tacky to the touch or, even worse, substrates that warp because they’ve been over-baked. To fix this, we played around with the purity of the quartz and tweaked the internal gas pressure. Now, the photons hit the photoinitiator exactly where they need to. It just works.
The hardware side of things
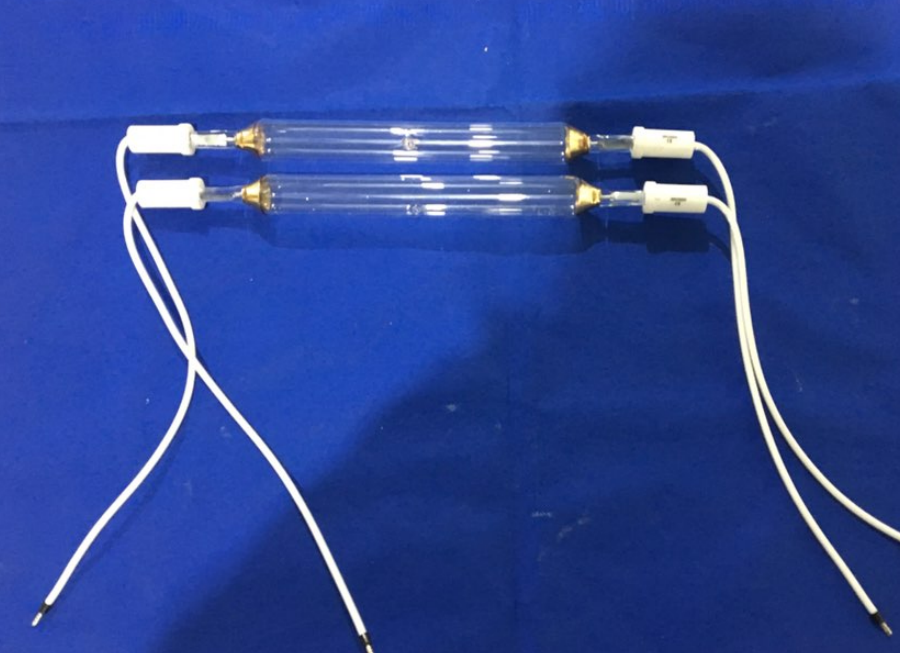
These bulbs are built for the heavy lifting of an industrial floor. We used high-grade fused quartz so the glass doesn’t cloud up when things get hot. We also redesigned the electrodes to stop sputtering. That means you won’t see those annoying black ends on your tubes nearly as fast. But a heads-up:heat is the trade-off. When you concentrate the spectral density, you’re packing more heat into every centimeter of the bulb. If your conveyor cooling isn’t up to the task, you might scorch your parts. Just keep an eye on your temps.
Putting them to work
The best part? You don’t need to rip out your current setup. These are drop-in replacements. They fit your existing sockets and plug right into your standard electronic ballasts. Because the energy is so concentrated, your parts don’t need to sit under the lamp for nearly as long. You can speed up your line and still get a deep, solid cure. It’s simple physics—less wasted heat, more speed, and a much smoother workflow.