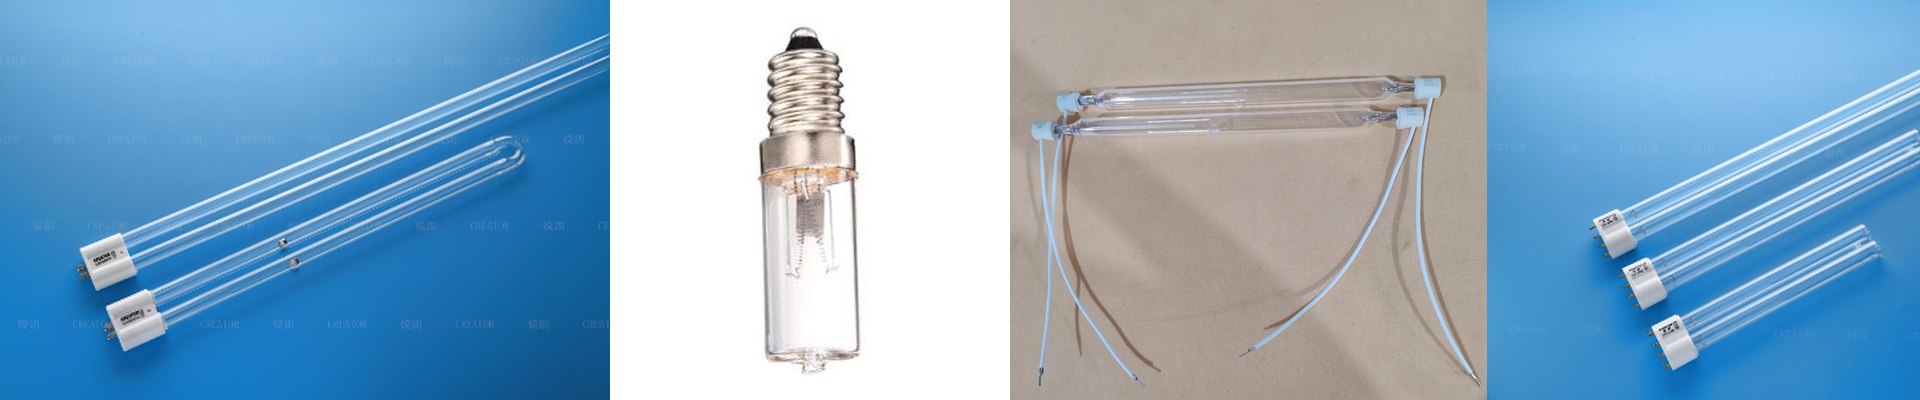
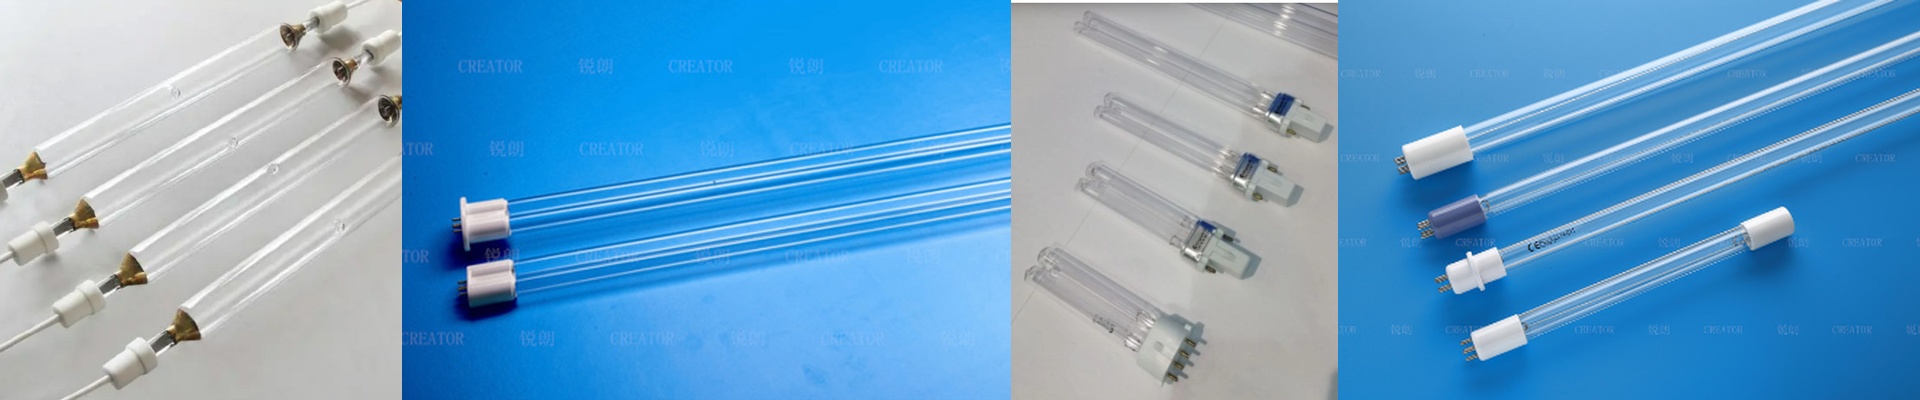
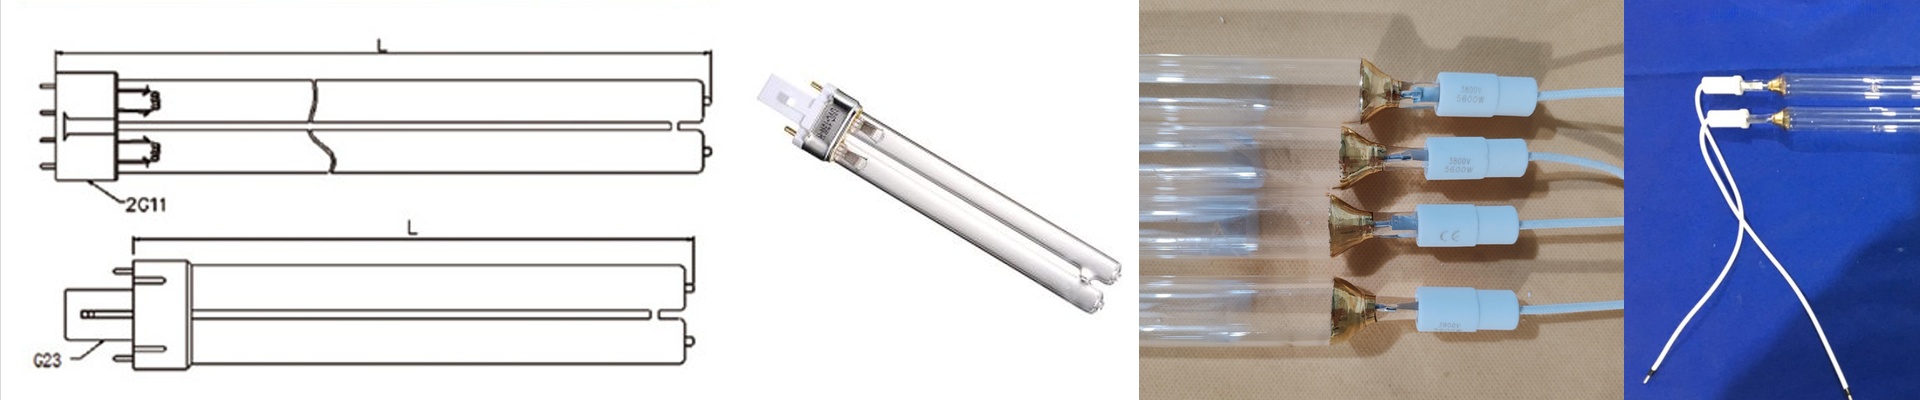
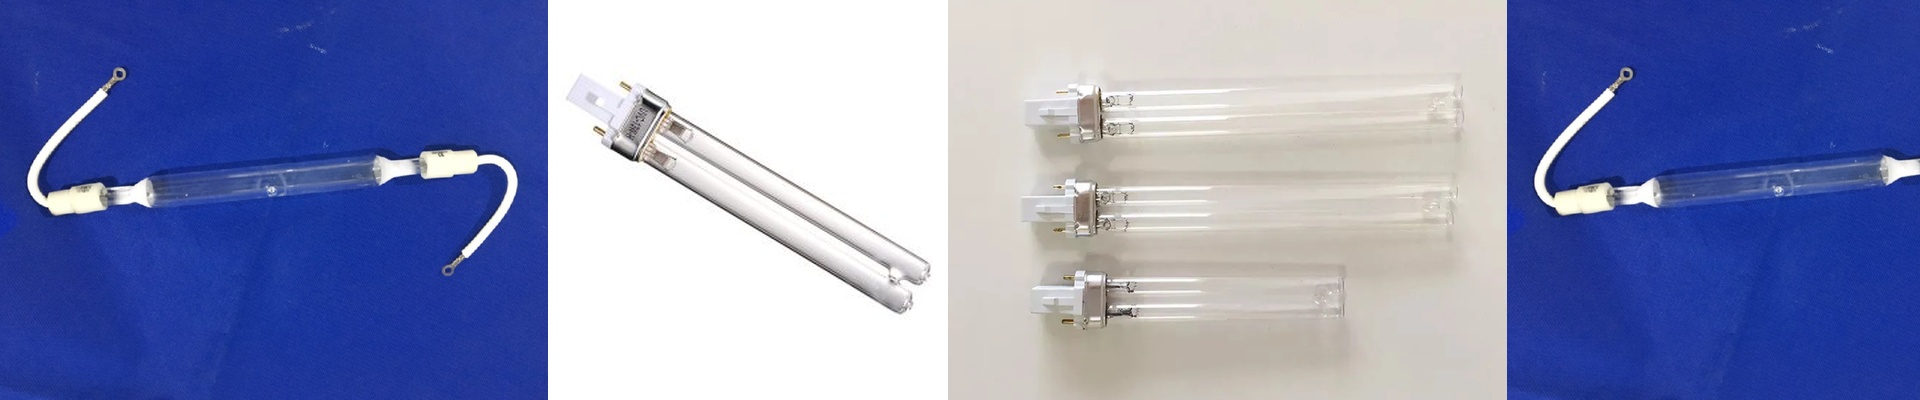
Getting the Most Out of Your Mercury UV Tubes
Let’s be honest: running a small print shop is a balancing act. You want the high-end results the big industrial players get, but you don’t have a corporate budget to throw at your equipment. Most of the time, you’re stuck between two bad options: tubes that cost a fortune or cheap ones that burn out way too fast. We wanted to fix that. We built our UV curing tubes to hit that sweet spot—strong enough to get the job done, but durable enough that you aren’t replacing them every other week.
Why some tubes just… die
It basically comes down to how they handle the heat. When you flip the switch, those tubes go through a massive thermal shock. If the glass is cheap, it cracks. If the electrodes are low-grade, they start “sputtering,” which clouds the glass and blocks the UV light. To stop that, we use high-purity quartz. It’s tough. It handles the rapid start-and-stop cycles without breaking a sweat, and it keeps the glass clear so the light actually hits your ink.
The “Too Much Power” Trap
Here is the thing: you can’t just crank the wattage to infinity and expect a miracle. If you push too much Power into a short tube, you’re basically cooking the electrodes. It’s a quick way to kill your lamp. **Check your fans.**Seriously. If your cooling system isn’t actually moving air across the tube, the quartz will overheat and your UV output will tank. A little bit of airflow goes a long way in keeping your gear alive.
Just plug it in and go
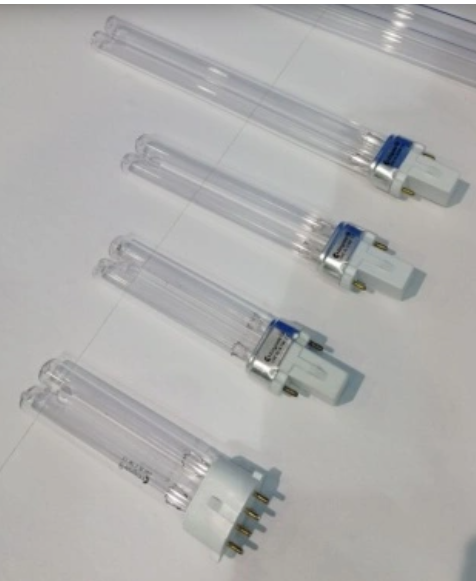
We didn’t want you to have to rebuild your entire setup just to use our tubes. They’re designed as drop-in replacements. Whether you’re doing textile work or flatbed printing, they should fit right into your existing reflectors and power supplies. No weird wiring, no modifications, no headaches. By focusing on the actual chemistry of the mercury fill and the quality of the glass, we’ve made it possible for smaller shops to tackle complex, professional designs without needing a massive enterprise budget to keep the lights on.